English translation
Codex Zero Setup, Login, and Environment Diagnostics: Get It Running Locally
AI Article Decision Snapshot
Turn the lesson into workflow, model, budget, and security checks before choosing tools.
Use this quick snapshot before leaving the article. It keeps the next search tied to practical AI software, model/API, cost, privacy, and implementation questions.
Workflow fit
Identify the real job behind the article: coding, research, document review, support, analytics, content, or internal automation.
Model or tool decision
Decide whether the next step is a software shortlist, an AI tool comparison, an API platform choice, or a model benchmark.
Budget and usage signal
Estimate seats, API calls, prompt volume, retries, review time, and fallback work before assuming the workflow is cheap.
Security and privacy review
Check whether source code, customer data, private documents, prompts, logs, or embeddings will enter the AI workflow.
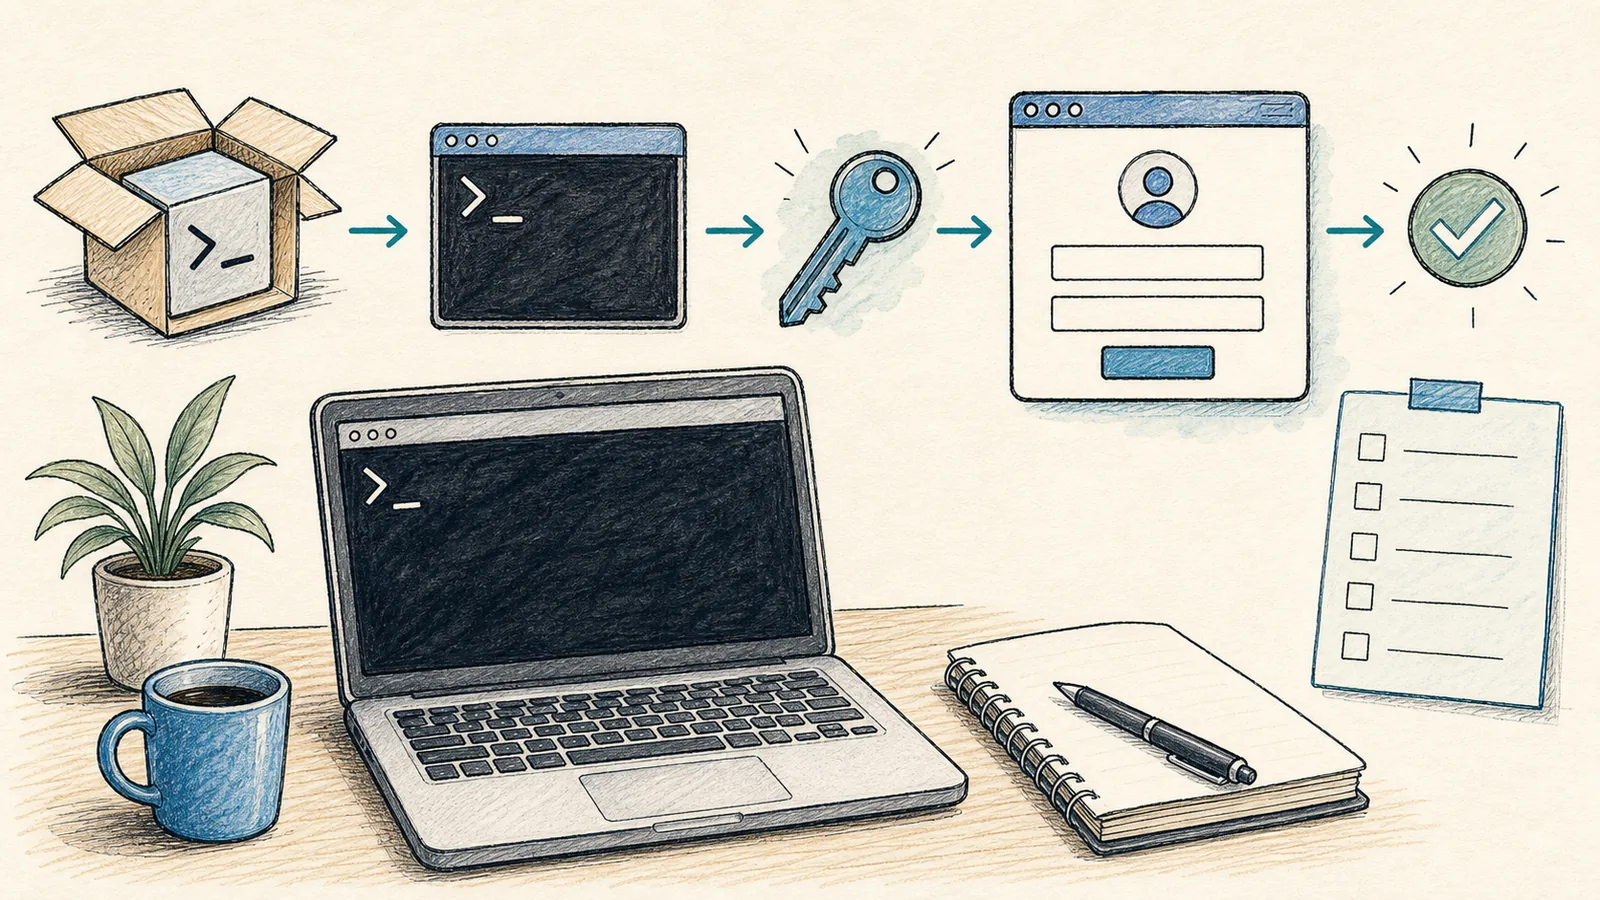
The first step in learning Codex isn’t writing prompts—it’s stabilizing your local environment. Many “AI can’t modify code” issues ultimately trace back to misconfigured working directories, missing Git installations, incorrect terminal permissions, or Node/Python binaries not being in your PATH.
This article focuses exclusively on three things: installation, authentication, and environment diagnostics.
Successful installation only confirms that the codex command runs—it does not guarantee stable operation within your repository. Before proceeding, we’ll verify login status, model access permissions, repository path correctness, and availability of required dependencies—and then run a safe, read-only diagnostic check.

Skipping this step makes it extremely difficult later to distinguish between two very different failure modes: (1) Codex misunderstanding the task, versus (2) your local environment failing to initialize at all. Embedding environment diagnostics into the first hands-on guide is far more valuable than memorizing extra CLI commands.
Getting Started on Windows
If you’re using Windows, the official Windows documentation recommends installing the Codex App from the Microsoft Store. Command-line installation is also supported:

When installing Codex and performing environment diagnostics, always record concrete evidence upfront: installed version, login status, project directory path, and confirmed working commands. This baseline enables accurate root-cause analysis when failures occur—helping you determine whether the issue lies in your environment or in ambiguous task definition.
winget install Codex -s msstore
The Codex App runs natively in PowerShell on Windows, but can also be configured to operate inside WSL2. Our recommendation:
- If your project resides in the Windows file system, start with PowerShell.
- If your project already lives in Linux/WSL—or depends on Docker, Linux toolchains, or other Unix-specific utilities—then consider WSL2.
- Avoid frequently switching between PowerShell, Git Bash, and WSL2 for the same project. Pick one primary environment and stick with it.
On Windows, also confirm that foundational tools are installed and accessible: Git, Node.js, Python, and the GitHub CLI. The official Windows documentation provides winget installation suggestions such as:
winget install --id Git.Gitwinget install --id OpenJS.NodeJS.LTSwinget install --id GitHub.cli
Master the CLI Entry Point
After installation, navigate to your project’s root directory and run:

After reading “2 Codex Installation, Login & Environment Diagnostics: Get It Running Locally First”, take one minute to reflect: ✅ Are key concepts clearly distinguished? ✅ Can you reproduce each practice step? ✅ Can you restate the conclusions in your own words?
codex
This launches Codex’s interactive terminal UI. You can also provide a task directly:
codex "Don’t modify any code yet—explain the project’s directory structure"
If you’ve installed the Codex App, you can launch it explicitly:
codex app
On macOS, this opens the specified workspace directly. On Windows, per the official CLI reference, it either opens the desktop app (or guides you through its installation) and prints the path it intends to open.
Authentication Methods
Codex supports login via either your ChatGPT account or an OpenAI API key. As noted in the official pricing and manual pages: certain cloud-based features may be unavailable when using an API key. For individual users, ChatGPT account login is strongly recommended; reserve API keys for CI pipelines, automation scripts, or shared environments.
Common authentication commands:
codex login
codex logout
⚠️ Never commit API keys to source control, paste them into public articles, logs, or GitHub issues. In CI environments, store them securely—e.g., in GitHub Secrets or equivalent secret management systems.
Run doctor for a Health Check
Before encountering problems, remember this command:
codex doctor
Per the official CLI reference, codex doctor validates your installation, configuration, authentication state, runtime environment, Git setup, terminal compatibility, app-server connectivity, and thread inventory. It’s ideal for diagnosing common issues like:
- “Why can’t Codex detect my project?”
- “Why are permissions denied?”
- “Why is my login status inconsistent?”
When seeking help from others, always share the output of codex doctor --summary—it’s dramatically more useful than saying “It doesn’t work.” Of course, redact any sensitive information (paths containing usernames, tokens, or account identifiers) before sharing.
New User Environment Checklist
Before your first real use, verify at least the following:

To apply “2 Codex Installation, Login & Environment Diagnostics: Get It Running Locally First” to your own workflow, begin by narrowing scope: validate just one critical checkpoint.

After completing “2 Codex Installation, Login & Environment Diagnostics: Get It Running Locally First”, try adapting it to a personal project. Focus specifically on whether your input, Codex’s internal processing, and final output align coherently.
git --version
node --version
python --version
codex doctor --summary
If your project is frontend-focused, also run its native install and build commands (e.g., npm install && npm run build). If backend-oriented, first verify virtual environment activation and test command execution (e.g., poetry shell && pytest or venv/bin/python -m pytest).
The next article dives into real repositories: letting Codex read your codebase first—then making its first low-risk modification.
References:
Apply This Lesson
Turn this article into AI software, model, API, and security decisions.
English Article FAQ
Use this article as evidence before choosing AI tools
How should I use this AI Tutorials article?
Use it as the implementation or learning layer, then connect the idea to AI software buyer guides, tool comparisons, benchmarks, API choices, and security checks before making a production decision.
Is this English article different from the Chinese original?
The English edition is localized for global AI readers while preserving the original diagrams, screenshots, prompts, code examples, and source context from the Chinese article.
What should I read after Codex Zero Setup, Login, and Environment Diagnostics: Get It Running Locally?
Continue with AI Software Buyer Guides, AI Tools Workbench, Best AI Coding Agents, AI Model Benchmarks, OpenAI vs Anthropic API, or LLM Security Tools depending on the decision you need to make.
Can this article alone choose an AI product or model?
No. Treat the article as evidence and context, then validate fit with pricing, privacy requirements, integration effort, benchmark results, workflow tests, and fallback planning.
Continue